Quick Answer: How Do You Seal Foil Bags?
The fastest reliable way to seal foil bags is a 300-400W impulse heat sealer with an 8-second dwell on the 3-5mm flat wire, fusing the inner polyethylene layer into a crimp that holds through shipping and storage. If you do not own a sealer, a clothes iron on medium-high with a wooden board behind the bag, a hair straightener clamped for 10 seconds, or a curling iron run slowly along the edge all seal foil bags acceptably for household use. The rule that never changes: foil bags seal at the polymer layer, not the foil, so the seam zone must be clean, flat, and free of crumbs.
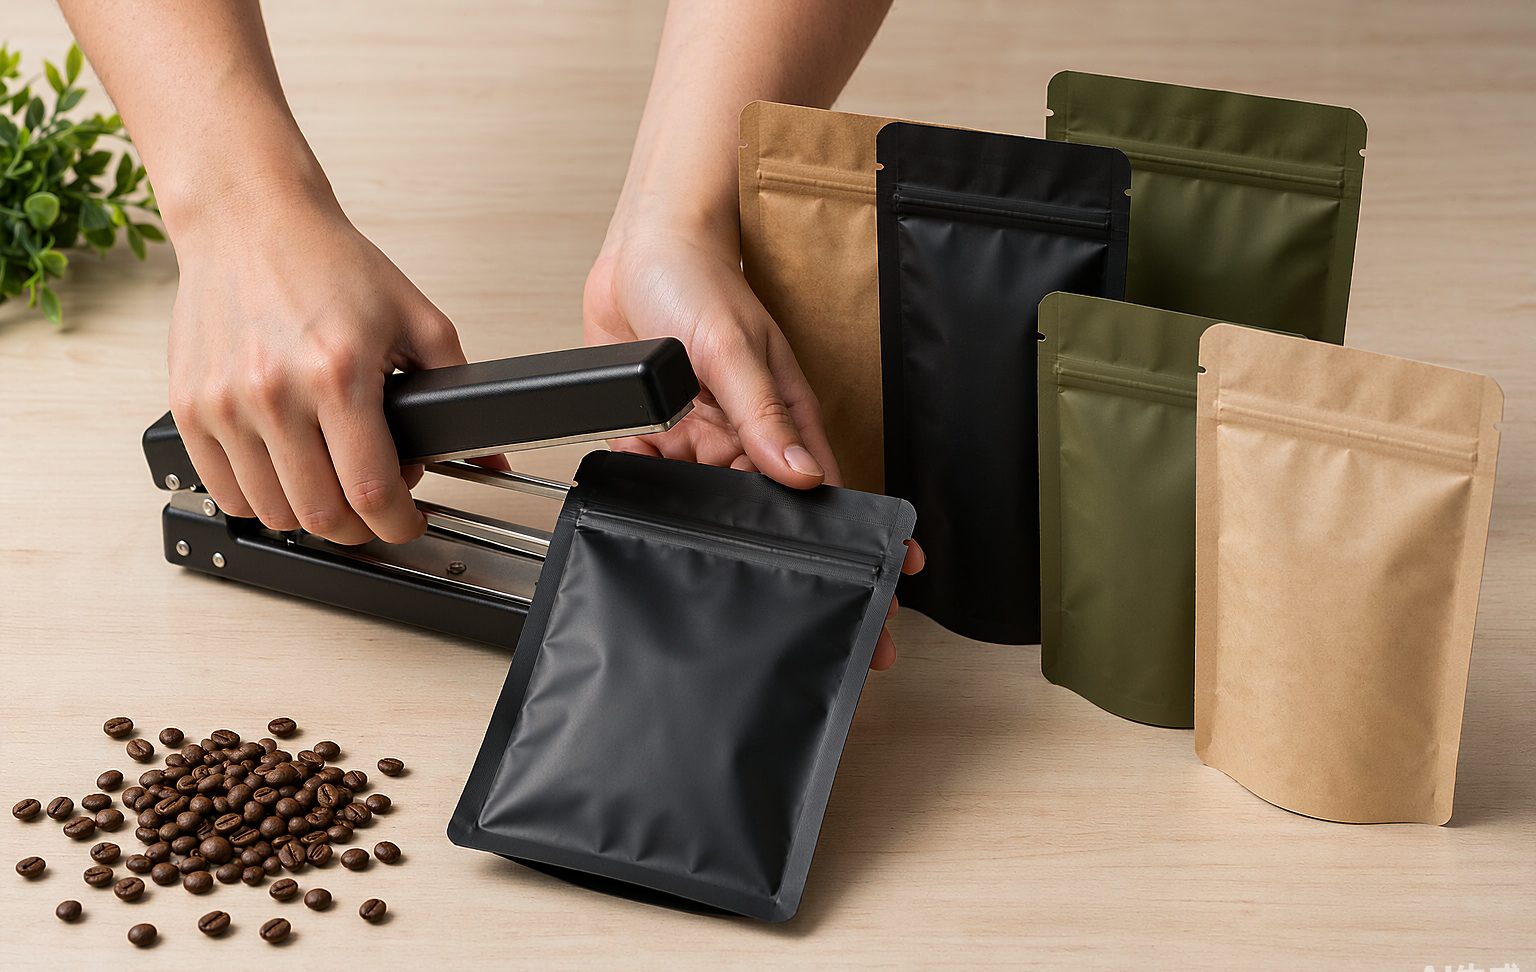
Learning how to seal foil bags properly is mostly about heat control, because aluminum foil conducts heat away from the seam faster than any all-plastic film. The table compares the seven methods for how to seal foil bags, and the sections below walk through the settings and the integrity checks that separate a lasting seal from one that fails overnight.
| Method | Heat source | Best for | Seal quality |
|---|---|---|---|
| Impulse sealer (3-5mm wire) | 300-400W pulse | Production, bulk packing, repeatable seams | Best |
| Continuous band sealer | Heated band + rollers | High-volume lines | Best, embossed |
| Household clothes iron | Medium-high, dry | Kitchen, no equipment | Good with a guide board |
| Hair straightener | 180-200°C plates | Small pouches, snack bags | Good, narrow seam |
| Curling iron | Glide along edge | Quick re-seals | Fair, thin seam |
| Hot knife or soldering iron edge | Manual pass | Trim and seal in one pass | Good, slow |
| Zipper + fold-back clip | None | Temporary storage only | Poor, air still exchanges |
In this guide:
- Why foil bags need more heat than plastic bags
- How to seal foil bags: 7 methods compared
- How to test a seal before trusting it
- 5 sealing mistakes to avoid
- FAQ
- The Bottom Line
Why Foil Bags Need Different Heat Than Plastic Bags
A typical foil pouch is a three-layer laminate: polyester outside for print and strength, aluminum foil in the middle as the barrier, and polyethylene inside as the sealant. Heat sealing works on that inner polyethylene, which melts around 120-150°C, but the foil layer drains heat sideways like a heat sink, so the seam needs a hotter source or a longer dwell than a plain PE bag would.
This conduction effect explains most failed first attempts at how to seal foil bags: the iron or sealer felt hot enough, but the foil wicked the energy away and the PE never fully fused. It also explains why seam width matters, so every guide on how to seal foil bags starts from the laminate structure rather than from temperature alone. A narrow seam on conductive film has less bonded area to resist peeling, so commercial sealers for foil laminates use 5mm or wider flat wires rather than the thin round wires sold for cheap plastic bags.
The same physics is why we treat foil, kraft, and Mylar as separate sealing guides. Our walkthrough of how to seal kraft paper bags deals with paper’s absorbency, the guide on how to seal Mylar bags covers long-term food storage seams, and our explainer on what a Mylar bag is maps the laminate family if you are comparing materials.
How to Seal Foil Bags: 7 Methods Compared
Work through the methods in order of equipment. Every one can seal foil bags airtight; the sections below show how to seal foil bags with each, and where speed, consistency, and seam width differ.
- Impulse heat sealer with a flat wire. Set 3-5 on a household 300-400W unit, press 1-2 seconds, then hold the clamp closed another 5-8 seconds while the seam cools under pressure. That cooling hold is the step beginners skip, and it stops the soft seam from wrinkling as it sets.
- Continuous band sealer. Band sealers are how to seal foil bags at volume: they feed the bag top between heated rollers and crimp a consistent, embossed seam. Foil laminates need the temperature dialed toward the upper end of the PE range because of the conduction effect described above.
- Clothes iron with a guide board. This is the default answer for how to seal foil bags without equipment. Lay a wooden board or a metal ruler under the bag top so the iron has a firm straight edge to press against. Medium-high heat, no steam, press firmly for 5-10 seconds along the edge, then slide and repeat any gaps.
- Hair straightener. Flat plates and adjustable temperature make a straightener the travel answer for how to seal foil bags away from the kitchen. Set it to 180-200°C, clamp the edge for about 10 seconds, and work in overlapping sections so the seam has no cold spots.
- Curling iron. A wide-barrel iron glided slowly along the open edge melts a narrow seal, best for re-closing snack pouches mid-use. Expect a thin seam and keep the pass slow and steady, because foil pulls heat from the barrel quickly.
- Hot knife or craft heat tool. Slow, but it produces a clean finished seam on thick foil laminates.
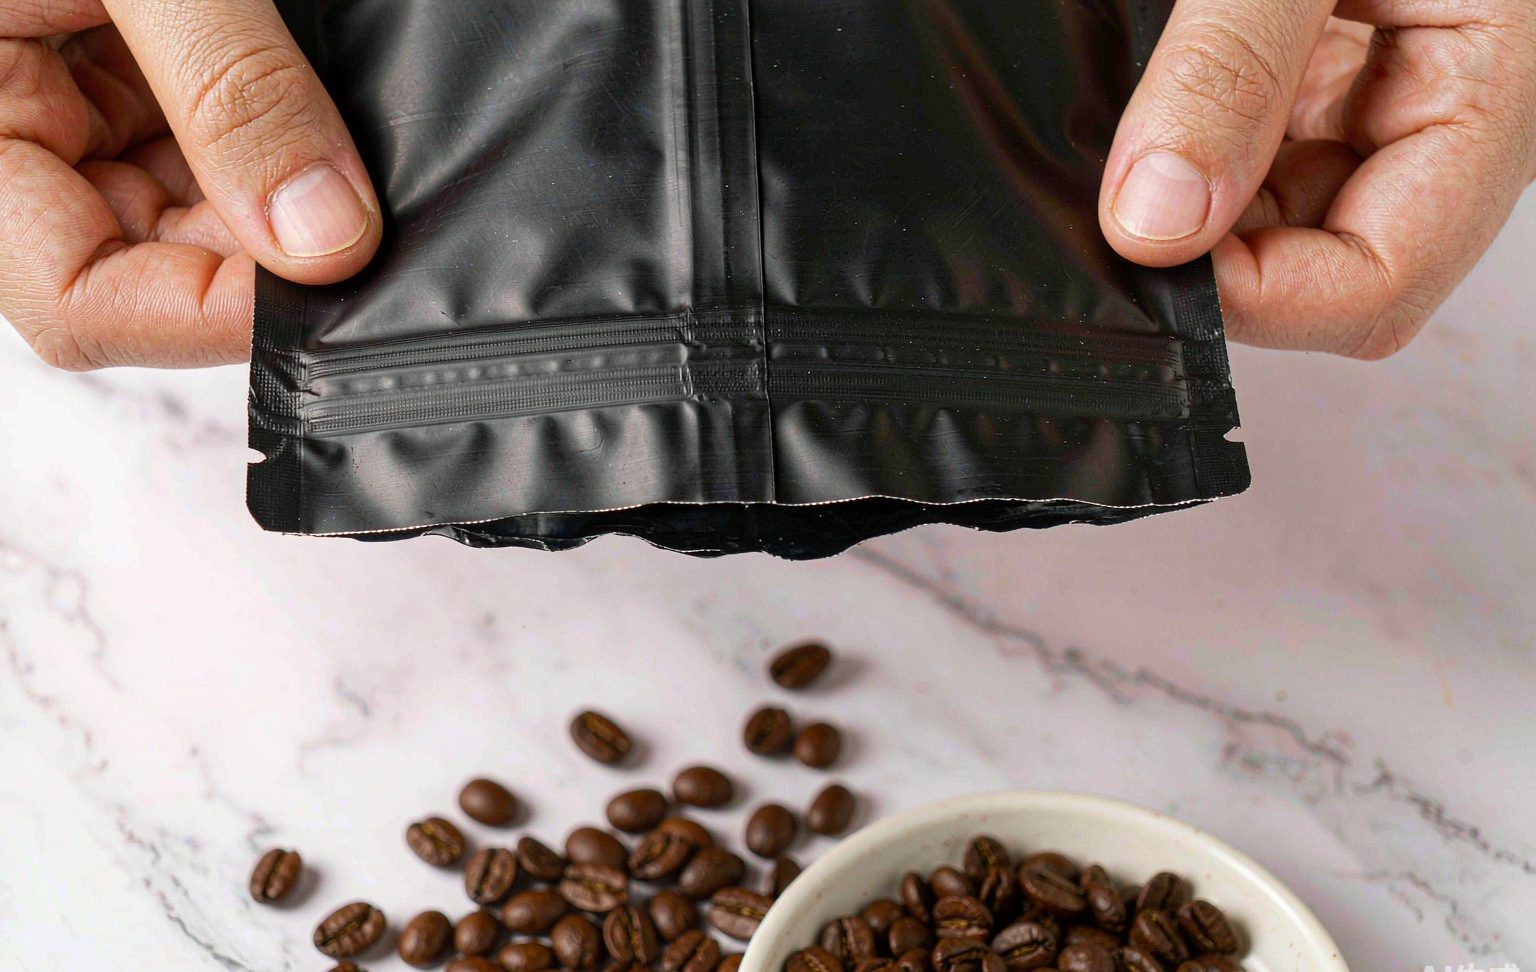
- Zipper closure as a backup only. Many foil pouches ship with a press-close zipper above the eventual heat-seal line. The zipper is a convenience, not a barrier; anything you want fresh for months gets a heat seam, as our guide on how to reseal a coffee bag explains.
How to Test a Foil Bag Seal Before Trusting It
A seam either bonds the full width or it quietly leaks, and you cannot see the difference by eye. Use these three checks after you seal foil bags for anything you plan to store long-term; anyone serious about how to seal foil bags for multi-season storage runs all three.
- The press test. Squeeze the sealed bag gently against a flat surface. Air escaping in a hiss at the seam corner means a channel; a sealed bag puffs and resists.
- The tug test. Try to peel the seam apart at the corners, where bonding is weakest. A proper seal stretches or tears the film before it peels cleanly.
- The water bath. Submerge the sealed, empty-of-air bag and press. A trail of bubbles from the seam marks the leak to redo. This is the standard we apply in our guide on how to seal retort pouches, where a failed seam has real consequences.
5 Sealing Mistakes to Avoid
These five decide outcomes more than any heat setting does, because learning how to seal foil bags is 20 percent temperature and 80 percent preparation.
| Mistake | What happens | Fix |
|---|---|---|
| Sealing over crumbs or powder | Particles bridge the PE layers and leave pinholes | Wipe the seal zone; leave 3cm of clear film above the fill |
| Rushing the cool-down | Hot seam wrinkles and micro-channels open | Keep the clamp or plates closed 5-8 seconds after heating |
| Sealing with food in the seam line | Steam from the product blasts the seam open | Cool contents first; leave headspace |
| Using a thin round-wire sealer | Narrow seam peels under foil’s stiffness | Use a 3-5mm flat wire or double-seal the line |
| Overheating to “be safe” | Polyester shrinks, foil creases, seam weakens | Start low, increase one setting at a time on scrap |
If your application is safety-critical rather than freshness-critical, the stakes change again. Our guides on how to seal heat seal bags and how to use retort pouches cover the validated-seal territory where every bag gets tested.

FAQ: How to Seal Foil Bags
Can you seal foil bags with an iron?
Yes. Put a straight board behind the bag top, set the iron to medium-high with no steam, and press firmly for 5-10 seconds along the edge. The board gives you a straight edge for how to seal foil bags with an even seam instead of a wavy one.
Why does my sealed foil bag still leak?
Ninety percent of failed how to seal foil bags attempts trace to one of three things: crumbs in the seam line, a seam cooled outside the clamp, or a foil fold trapped inside the seam. All three create micro-channels that the press test catches. Redo the seal 2-3mm higher, and it holds.
What temperature seals foil laminate bags?
The inner polyethylene layer fuses at roughly 120-150°C, but because the foil layer conducts heat away, set your sealer or iron a step hotter than you would for plain plastic bags. That offset is the core of how to seal foil bags versus how to seal all-plastic ones, so test on the bag’s top trim or a scrap bag first.
Is a zipper closure enough for long storage?
No. Zippers exchange air and vapor slowly but steadily. For storage beyond a few weeks, heat-seal above the zipper line; the zipper then serves as a re-open feature after you cut the seam, the design logic our Mylar and coffee-bag guides follow.
How wide should the seal be?
At least 3mm of continuous fused width, and 5mm for stiff foil laminates or heavy fills. Width is the second half of how to seal foil bags that stay sealed; if your equipment leaves a narrow line, run a second parallel seal a few millimeters below the first to double the barrier.
The Bottom Line
Knowing how to seal foil bags comes down to discipline more than gear: clean seam zone, heat aimed at the polyethylene layer, a 3-5mm fused width, and a patient cool-down under pressure. An impulse sealer with a flat wire remains the dependable default, an iron or hair straightener covers the kitchen, and the press-tug-water checks tell you honestly whether a seam deserves to be trusted.