Quick Answer: How to Seal Retort Pouches?
How to seal retort pouches correctly comes down to four controls: a clean seal zone, the right temperature for the sealant layer, enough dwell time, and enough pressure to bond the full 7–10 mm seal width. A standard retort pouch uses a CPP sealant layer that heat-seals at roughly 160–220°C and must survive commercial sterilization at 121°C, so a weak seal fails exactly when the pouch is under maximum internal pressure.
If you are asking how to seal retort pouches for a retort run, the answer is a double impulse seal or a band sealer set and verified against ASTM F88 peel-strength targets, not a single household pass. The table below compares the four sealing methods, and the seven steps walk through the process end to end.
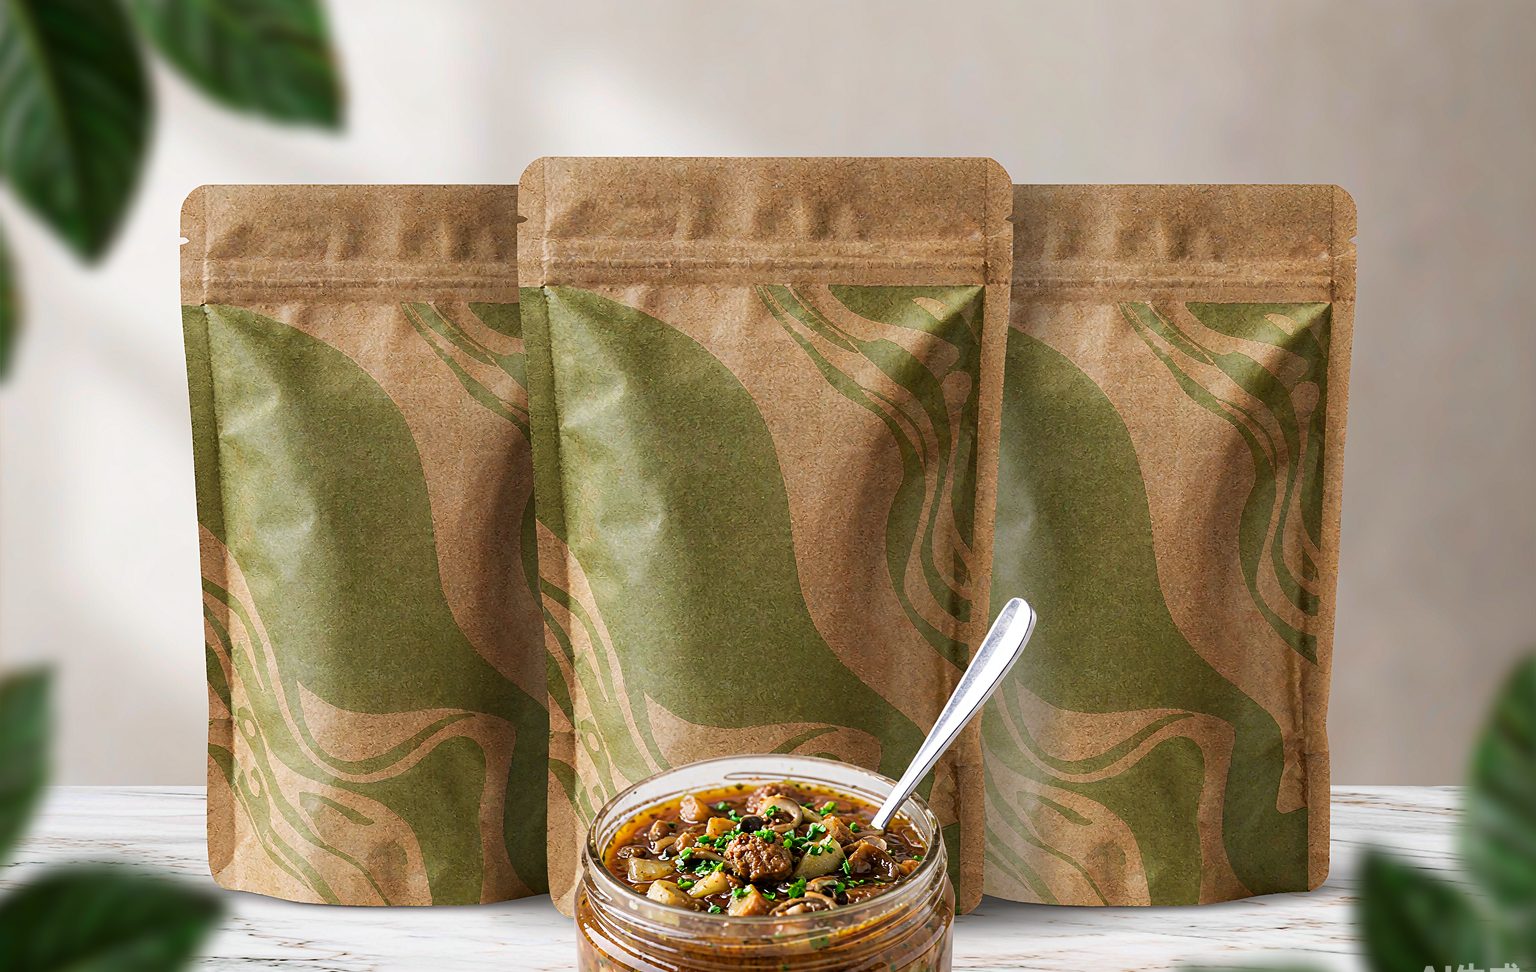
| Method | Seal width | Best for | Retort-safe? |
|---|---|---|---|
| Single impulse sealer (manual) | 3–5 mm | Samples, labs, small batches | Test first — often too narrow |
| Double impulse sealer | 2 x 5–10 mm | Semi-automated production | Yes — industry default |
| Continuous band sealer | 8–10 mm | High-volume lines | Yes — validated at speed |
| Rotary pre-made pouch machine | 10 mm+ | Full commercial lines | Yes — most consistent |
Each section below answers one layer of how to seal retort pouches, from film choice to seal validation.
In this guide:
- Why retort pouch seals are harder than normal pouch seals
- 7 best steps to seal retort pouches
- How to test every seal before it ships
- Common sealing mistakes to avoid
- FAQ
Why Retort Pouch Seals Are Harder Than Normal Pouch Seals
A retort pouch is not a regular stand-up pouch with a thicker wall. It is a laminated structure — typically PET for print, aluminum foil or high-barrier foil-free layers for oxygen and light, and a cast PP (CPP) sealant layer inside — engineered to survive a full retort sterilization cycle at 121°C or higher. During that cycle the trapped air and water vapor inside expand, and the seal becomes the only thing holding the package together under pressure. This is the core reason how to seal retort pouches is a different question from how to seal a snack bag.
The sealant layer also behaves differently at temperature. CPP softens well below the retort temperature, which is why the seal zone must be free of product contamination: a single drop of oil or sauce in the seal area creates a channel that opens during sterilization. When teams ask how to seal retort pouches after a failed run, the failure almost always traces back to contamination, insufficient seal width, or a temperature set for the film’s print layer instead of its sealant layer. Structure choice matters too — our overview of types of flexible pouches separates retort-grade from everyday barrier structures.
7 Best Steps to Seal Retort Pouches
How to seal retort pouches at production quality comes down to seven steps, each removing a specific failure mode from real retort runs.
- Step 1 — Match the film to the process. Confirm your pouch is rated for retort (the lamination specification will state 121°C retort-grade CPP or a high-temperature rating). A boiling-water pouch and a retort pouch look identical but are not interchangeable. If your product only needs pasteurization, our guide on how to seal Mylar bags covers dry-goods sealing with far lower seal demands.
- Step 2 — Control the fill level. Leave at least 30–40 mm of empty bag above the product. The sealer jaws need clean film to grip, and the product expands during sterilization. Underfilled headroom is the cheapest insurance in the whole process of how to seal retort pouches.
- Step 3 — Clean and dry the seal zone. Wipe the inside of the seal area with a lint-free cloth. Fatty or wet product in the seal line is the number-one cause of channels and delamination after retort. For oily products, many lines add a gas-flush or displacement step so nothing touches the seal band.
- Step 4 — Remove trapped air. Vacuum chamber sealing or a hand-smooth exit of air before the jaw closes prevents ballooning during sterilization. Air expands far more than water at 121°C, and a ballooning pouch stretches the seal until it creases or bursts.
- Step 5 — Set temperature, dwell, and pressure for the sealant. For CPP sealant layers, start around 180–200°C on an impulse sealer with a dwell of 1.5–2.5 seconds and medium jaw pressure, then tune on scrap pouches. Glossy hot spots mean too hot, hazy zones mean too cold. This tuning step is the practical heart of how to seal retort pouches on any machine, and the same logic applies to kraft laminates in our guide on how to seal kraft paper bags.
- Step 6 — Use a double seal on every pouch. Two parallel seal bars, or two passes 2–3 mm apart, create redundancy: if one line has a micro-channel, the second still holds. Commercial retort standards expect a total seal width of at least 7 mm, which is why single 3 mm household passes fail validation.
- Step 7 — Cool the seal under pressure before handling. The sealant needs to crystallize under jaw pressure. Releasing a hot seal immediately leaves a weak, distorted bond. Most machines handle this automatically; on manual sealers, hold the jaw closed for another 2–3 seconds after the heat cycle ends.
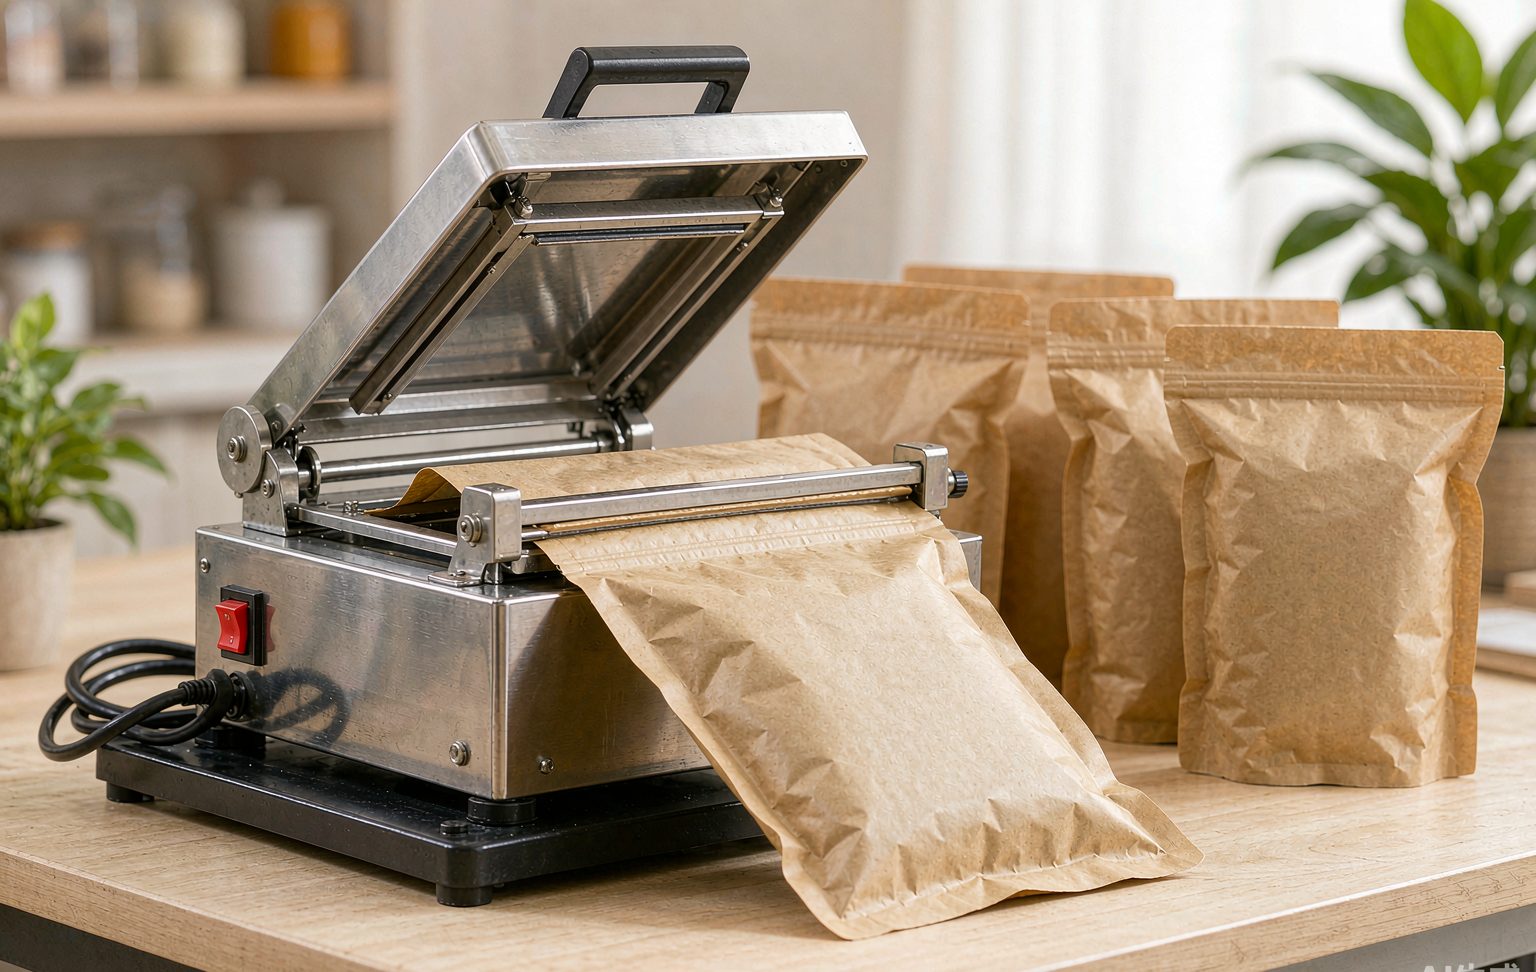
Once these seven steps are stable, how to seal retort pouches becomes a monitoring job: watch seal appearance every hour and pull samples for the tests below.
How to Test Every Seal Before It Ships
No guide to how to seal retort pouches is complete without destructive testing, because a retort seal is validated on a sample plan, never by looking at finished pouches. Four tests cover the bases.
| Test | Reference standard | What it catches |
|---|---|---|
| Peel strength (tensile) | ASTM F88 | Weak bonds from low temperature or contamination |
| Burst / creep test | ASTM F1140 / F2054 | Seal failure under internal pressure — mirrors retort conditions |
| Dye penetration | ASTM F1929 | Micro-channels invisible to the eye |
| Bubble emission | ASTM F2096 | Pinholes and gross leaks in the seal or film |
A practical minimum for small producers: run a burst test on one pouch per sealing hour, plus a dye test at the start and end of every run. Still choosing a structure? Our explainer on what mil thickness means in flexible packaging helps you read film specs, and our flat bottom pouch guide covers format choices. For the broader process, our walkthrough of how to use retort pouches covers filling, loading, and processing, and our market notes on why retort pouches keep growing in popularity explain the format’s growth.
Common Mistakes When You Seal Retort Pouches
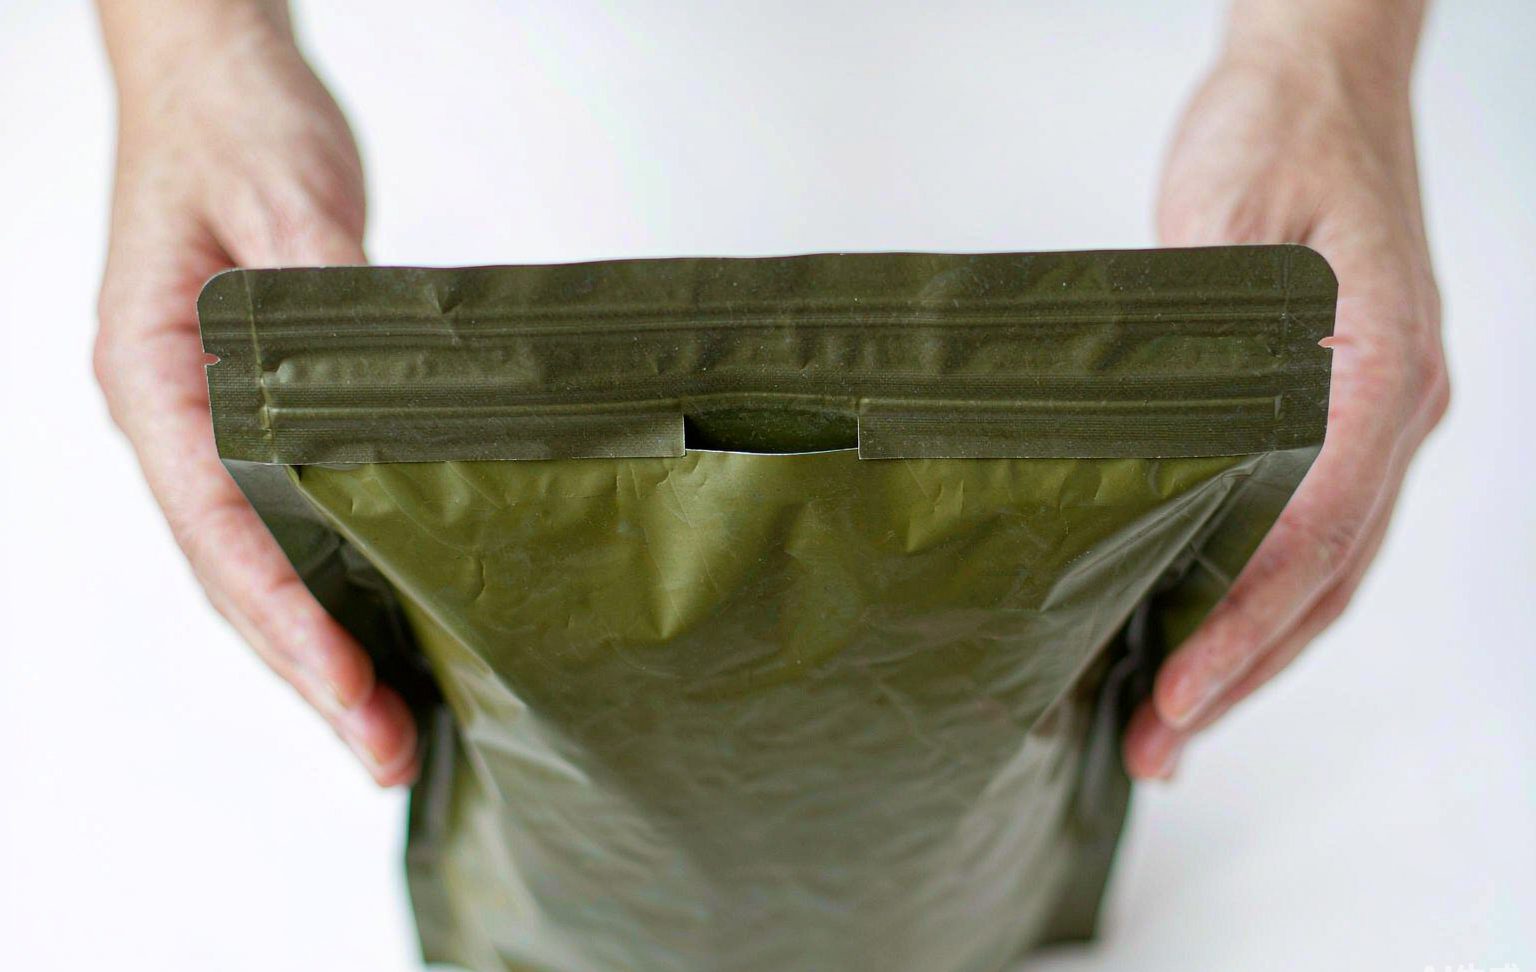
Five mistakes account for most failed attempts at how to seal retort pouches. Audit your line against this list before blaming the film supplier.
| Mistake | What happens | Fix |
|---|---|---|
| Product in the seal zone | Channel leak opens under retort pressure | Headroom control plus wipe-down at fill |
| Single narrow seal | Passes kitchen use, fails validation | Double seal, 7 mm total minimum |
| Temperature set once and forgotten | Drift as jaw and film temperature change | Re-tune hourly and after film-lot changes |
| Hot pouches stacked immediately | Cool seals deform under weight | Cool under pressure, then single-layer rest |
| No pre-retort leak test | Defects found after processing, whole batch lost | Dye or burst test before the retort load |
A defect caught before sterilization costs one pouch; the same defect caught after costs the whole load. Testing before retort is how to seal retort pouches economically, not just correctly.
FAQ: How to Seal Retort Pouches
Can I seal retort pouches with a normal impulse sealer?
For lab samples and trials, yes — set it for the CPP sealant layer, use two passes, and expect to verify with a burst test. For production, a double impulse or band sealer delivering a validated 7–10 mm seal is the practical minimum, because a single 3 mm household pass rarely survives sterilization.
What temperature should I use to seal a retort pouch?
Start at 180–200°C for a CPP sealant on an impulse sealer, then tune on scrap film of the same lot. A correct setting gives a flat, uniform seal band with no wrinkles or glossy hot spots.
How wide should the seal be on a retort pouch?
Commercial practice targets a total seal width of at least 7 mm, commonly 7–10 mm, usually achieved with a double seal. Wider is not automatically better — an overheated wide seal can warp the film — but too narrow is the most common validation failure, which is why how to seal retort pouches always starts with seal width.
Why did my retort pouch seals fail after processing?
The three leading causes are product contamination in the seal zone, trapped air that expanded during sterilization, and a seal width or temperature that was never validated against a burst test. Reproduce the failure with a dye test on unprocessed pouches to isolate which one it is.
Do retort pouches need to be vacuum sealed?
Full commercial vacuum is not mandatory, but removing trapped air before sealing is strongly recommended. Air expands during sterilization and stresses the seal; vacuum chamber sealing or careful air expression keeps pouches flat through the cycle — air control is half of how to seal retort pouches.
The Bottom Line on Sealing Retort Pouches
How to seal retort pouches successfully is a system, not a setting: retort-grade film, 30–40 mm of headroom, a spotless seal zone, air removal, a tuned 180–200°C double seal of at least 7 mm, cooling under pressure, and destructive testing on a fixed sample plan. Master those seven steps and the seal stops being the weak point of the package — it becomes the reason the format works. If you are evaluating the format for a new product, start with the process overview in how to use retort pouches, then return here to lock down the sealing parameters before your first production run.