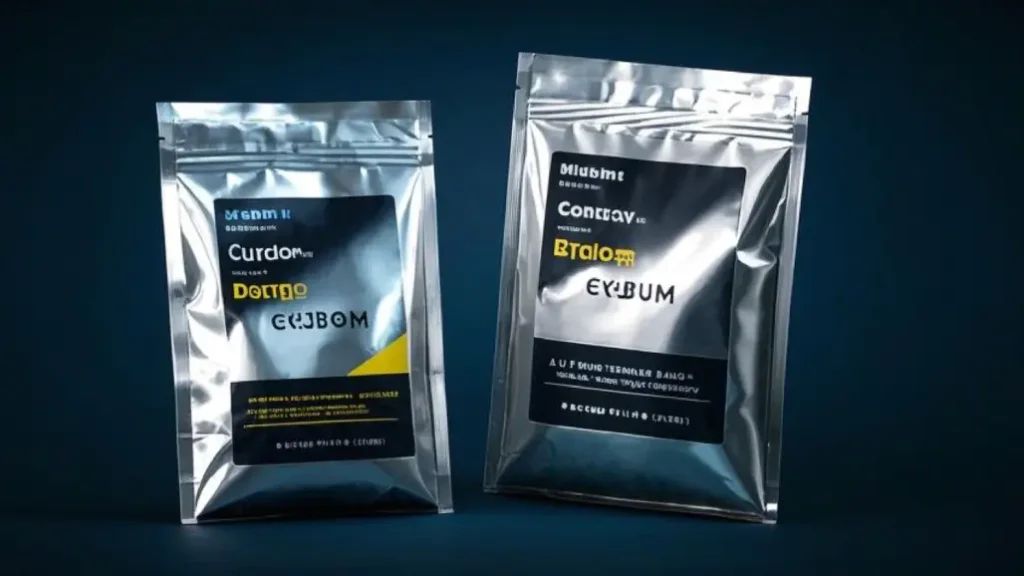
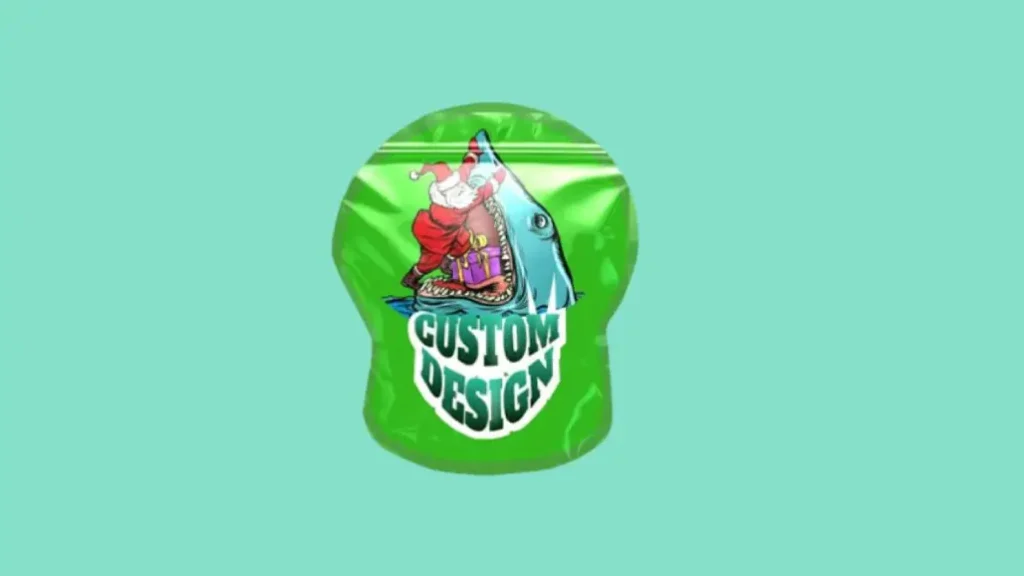
Mylar bags are a versatile and effective way to protect and preserve various items, from food and pharmaceuticals to collectibles and electronics. But what if you need a Mylar bag that’s not readily available? Creating your own custom Mylar bags allows you to tailor the size, design, and functionality to your specific needs, whether it’s for long-term food storage, unique packaging, or personalized promotional items.
This blog post will guide you through the process about how are mylar bags made, covering everything from selecting the right materials and printing options to the various sealing methods available.
Whether you’re a small business owner, or simply looking for a creative project, this guide will equip you with the knowledge to create custom Mylar bags that meet your exact requirements.
How to Make Custom Mylar Bags

Creating your own custom Mylar bags can be a rewarding project, allowing you to design packaging or storage solutions tailored to your specific needs. This process involves several key steps, from selecting the right materials to the final sealing of the bag. Whether you’re aiming for a professional look or a more personalized touch, understanding each stage is essential for achieving the desired outcome.
Step 1: Choose Your Mylar Material
The type of Mylar material you select will significantly impact the durability and protective properties of your custom bags. Consider the thickness of the Mylar, as thicker material offers greater protection against punctures and tears. Also, determine if you need a specific type of Mylar, such as a static-shielding variety for electronics or a food-grade option for storing edibles.
Mylar comes in various thicknesses, measured in mils. A higher mil number indicates a thicker and more robust material. For heavy-duty applications or items requiring maximum protection, opt for a thicker Mylar. For lighter items or less demanding uses, a thinner Mylar may suffice.
Beyond thickness, consider the layers that make up the Mylar material. Some Mylar bags consist of multiple layers of different materials, such as aluminum foil sandwiched between layers of plastic. These multi-layered bags offer superior protection against oxygen, moisture, and light, making them ideal for long-term storage.
Step 2: Design and Print (Optional)
If you want to add custom designs or labels to your Mylar bags, this is the stage where you would do so. For simple designs or labels, you can use printable sticker paper and apply them to the bags after they are sealed. For more intricate designs or larger print runs, consider using a professional printing service that specializes in printing on Mylar or similar materials.
Designing your custom print requires careful consideration of the available space on the bag and the desired aesthetic. Keep the design clean and legible, especially if it includes important information like product details or branding. Test print your design on regular paper before printing on the actual Mylar material to ensure proper alignment and color accuracy.
If using a professional printing service, communicate your design requirements clearly, including the desired size, colors, and any specific printing techniques you prefer. Provide high-resolution images or artwork to ensure the best print quality. Request samples if possible to review the print quality and material before committing to a large order.
Step 3: Cut and Seal
Once you have your Mylar material (and printed designs, if applicable), you’ll need to cut the Mylar into the desired size and shape for your bags. Use sharp scissors or a rotary cutter for clean, straight cuts. For more complex shapes, you may need to create a template and carefully cut along the lines.
After cutting the Mylar, it’s time to seal the bags. A heat sealer is the most effective tool for creating an airtight seal on Mylar bags. Follow the instructions for your specific heat sealer, ensuring that you create a strong, consistent seal along all edges of the bag. For added security, you can double-seal each edge.
Before heat-sealing, consider adding oxygen absorbers to the bags if you are storing food items. Oxygen absorbers help to remove oxygen from the bag, extending the shelf life of the food. Select the appropriate size and number of oxygen absorbers based on the size of your Mylar bag and the type of food you are storing.
Step 4: Inspect and Store
After sealing your custom Mylar bags, carefully inspect each bag to ensure that the seal is complete and airtight. Check for any gaps or weak spots in the seal. If you find any imperfections, reseal the bag to ensure proper protection of the contents.
Once you are satisfied with the seal, label each bag with the contents and the date of packaging. This will help you keep track of your stored items and ensure that you use the oldest items first. Store the sealed Mylar bags in a cool, dry, and dark place for optimal preservation.
Proper storage is essential for maintaining the quality and extending the shelf life of the items stored in your custom Mylar bags. Avoid storing the bags in areas with extreme temperatures or high humidity. Regularly inspect the bags for any signs of damage or compromised seals.
How to Make Die Cut Mylar Bags

Creating custom die-cut Mylar bags involves a few key steps, from designing your desired shape to the final sealing process. This method allows for unique and eye-catching packaging, ideal for various products or promotional items. Careful planning and execution are essential for achieving professional-looking results.
Step 1: Design Your Die Cut Shape
First, you need to design the shape of your die cut. This can be done using graphic design software like Adobe Illustrator or similar programs. Consider the size and functionality of the bag, as well as any specific design elements you want to incorporate. A well-thought-out design is the foundation of a successful die-cut bag.
Think about the practical aspects of your design. Will the bag need to stand on its own? Does it need a handle or a specific closure mechanism? These considerations will influence the complexity of your die cut design. Test different designs with paper mock-ups to ensure they function as intended before moving on to the Mylar material.
Your design should be a vector file, which allows for clean and precise cutting. Ensure that all lines are connected and that the design is scaled correctly. This file will be used to create the die that will cut the Mylar material.
Step 2: Create the Die
Once your design is finalized, you’ll need to create the die. This is typically done by a professional die maker who specializes in creating custom cutting tools. You’ll provide them with your vector file, and they will fabricate a sharp metal die that matches your design. The die creation process requires precision to ensure clean and accurate cuts on the Mylar material.
The die maker will use specialized equipment to cut and shape the metal to match your design. The sharpness and quality of the die are crucial for achieving clean cuts on the Mylar without tearing or fraying. A well-made die will also ensure consistent cuts across multiple bags.
Depending on the complexity of your design, the die creation process can take some time. It’s important to communicate clearly with the die maker and provide them with all the necessary information to ensure they create a die that meets your exact specifications.
Step 3: Cut the Mylar Material
With the die in hand, you can now cut the Mylar material. This is typically done using a die-cutting machine, which applies pressure to the die to cut through the Mylar. It’s crucial to use the correct type and thickness of Mylar for your project. Different types of Mylar offer varying levels of protection and durability.
The die-cutting machine ensures consistent and accurate cuts, producing multiple bags with the same shape. The pressure applied to the die needs to be carefully calibrated to cut through the Mylar cleanly without damaging the die or the material. It’s often recommended to do some test cuts on scrap Mylar to ensure the machine is set up correctly.
Consider the size of your Mylar sheets and how you can maximize the number of bags you can cut from each sheet. Careful planning can minimize waste and save on material costs.
Step 4: Seal the Bags
After the Mylar is cut, you’ll need to seal the bags to create the final product. This can be done using a heat sealer, which melts the edges of the Mylar together to create a strong and airtight seal. The type of seal will depend on the design of your bag. Some bags may require a simple top seal, while others may need more complex seals to create a stand-up pouch or a bag with a gusset.
The heat sealer needs to be set to the correct temperature to melt the Mylar without burning it. It’s important to practice sealing on scrap Mylar to get a feel for the correct settings. A consistent and strong seal is crucial for maintaining the protective properties of the Mylar bag.
Consider the end use of your bags when choosing a sealing method. If the bags will be used for food storage, it’s important to ensure the seal is airtight to prevent spoilage. For other applications, a less robust seal may be sufficient.
What Are Mylar Bags Made Out Of
Mylar bags aren’t made of just one material; they’re actually a multi-layered construction designed for optimal protection. The primary component is a polyester film, specifically polyethylene terephthalate (PET), often referred to as Mylar. This PET layer provides the bag’s strength, flexibility, and resistance to tearing. It’s a durable plastic that forms the backbone of the bag’s structure.
However, the magic of Mylar bags lies in the addition of other layers, most notably aluminum foil. This thin layer of aluminum, sandwiched within the PET layers, is what provides the exceptional barrier properties that make Mylar bags so effective. The aluminum foil acts as a shield against oxygen, moisture, and light, preventing them from reaching the contents of the bag and causing spoilage or degradation.
These layers are bonded together using specialized adhesives, creating a single, cohesive material. The result is a flexible, yet strong bag that offers superior protection compared to single-layer plastic bags. The combination of PET for strength and aluminum for barrier properties is what gives Mylar bags their unique ability to preserve and protect their contents.
Who Makes the Best Mylar Bags
It’s tricky to declare one definitive “best” Mylar bag brand, as different manufacturers excel in various aspects. However, some consistently stand out for quality, durability, and features.
Wallaby is often praised for their thick, puncture-resistant bags and comprehensive kits that include oxygen absorbers and labels. They’re a popular choice for serious long-term food storage. On the more budget-friendly side, SHXWell offers reliable bags with features like zipper closures and gusseted bottoms, making them practical for everyday use. Ultimately, the best Mylar bag depends on your specific needs and priorities, whether it’s maximum durability, affordability, or convenient features.
Conclusion
Creating custom Mylar bags offers a versatile solution for various needs, from unique packaging to personalized promotional items. By understanding the process, from material selection and design to printing and sealing, you can craft bags that perfectly match your specific requirements. Whether you opt for DIY methods or professional printing, the result is a functional and eye-catching product.
Looking for high-quality, custom-made Mylar bags? BN Pack specializes in creating custom Mylar bags tailored to your exact specifications. We offer a range of sizes, materials, and printing options to bring your vision to life.
Contact us today for a free quote on custom Mylar bags. Let our team help you design and produce the perfect packaging solution for your business or personal use. Visit our website or call us to learn more.
