Quick Answer: How to Seal Mylar Bags the Right Way
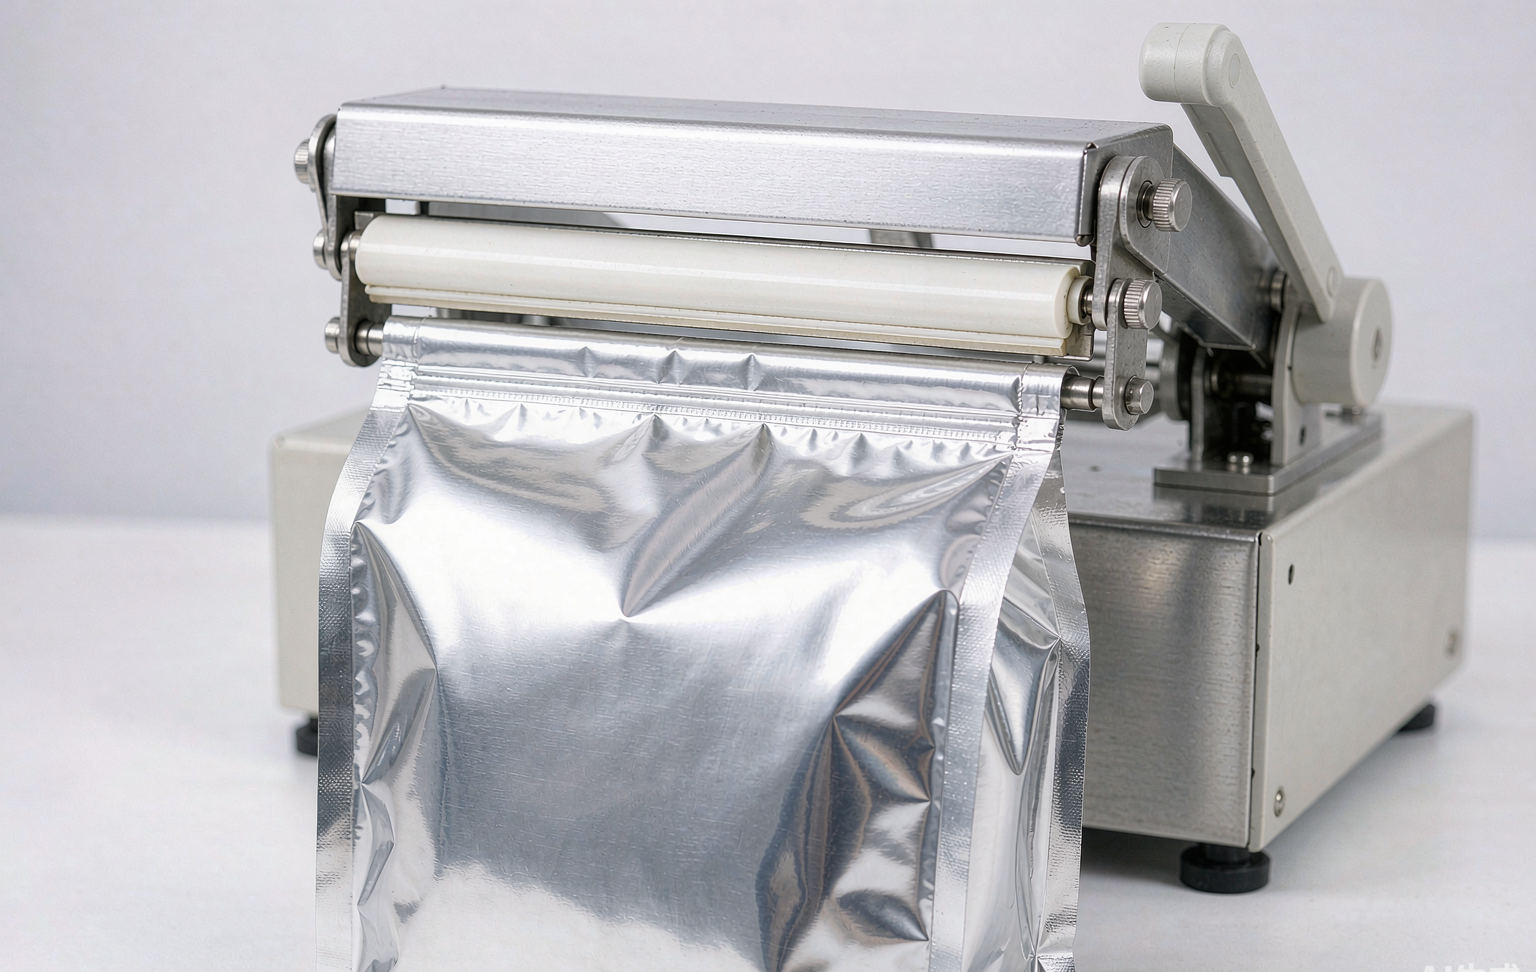
Wondering how to seal mylar bags properly? The most reliable method is a 300–400 mm impulse heat sealer: press the bag mouth flat, clamp it on a 5–8 mm seal for 2–4 seconds, and you get an airtight weld that lasts decades. No equipment? A flat iron or clothes iron on the highest setting seals a folded bag mouth just as tightly for home storage.
Tape, binder clips, and zip closures only block dust and pests; they never block oxygen, so oxygen absorbers keep working until they saturate and the food inside slowly stales. The table below compares all five methods so you can pick the right one for how to seal mylar bags in your situation.
| Method | Equipment Cost | Seal Strength | Best For |
|---|---|---|---|
| Impulse heat sealer (300–400 mm) | $25–$80 | Excellent, 20+ year seal | Long-term storage, bulk bags |
| Flat iron / hair straightener | $0 (already own) | Very good | Households, small batches |
| Clothes iron on linen setting | $0 (already own) | Good | Wide-mouth 5-gallon liner bags |
| Vacuum sealer (with adapter) | $60–$150 | Moderate | Small mylar pouches only |
| Zip closure / clip only | $0 | Poor – not airtight | Short-term access bags (under 3 months) |
Understanding how to seal mylar bags starts with one idea: you are not closing a bag, you are welding two layers of metallized film into a single flat ribbon. If the weld has a channel, a wrinkle, or food crumbs inside it, oxygen will creep back in and your oxygen absorbers will burn out early.
In this guide:
- Why seal quality matters for shelf life
- Method 1: Impulse heat sealer
- Method 2: Flat iron or hair straightener
- Method 3: Clothes iron
- Method 4: Vacuum sealer with mylar
- Method 5: Zip closures for short-term use
- Sealing mistakes that ruin shelf life
- FAQ
Why Seal Quality Matters for Shelf Life
Mylar is the trade name for metallized PET film, known industrially as BoPET, and it is one of the best oxygen and moisture barriers available in flexible packaging. But the film is only half the system. A mylar bag with a perfect body and a weak seal leaks through the top edge, not the walls. Tests by food storage researchers show that a pinhole channel of just 0.1 mm can raise the oxygen level inside a 1-gallon bag above 2% within months, which is exactly the threshold where insect eggs hatch and fats go rancid.
This is why every serious guide to long-term storage, including our articles on how long rice lasts in mylar bags and how long oats last in mylar bags, assumes a proper heat weld. Master the seal and how to seal mylar bags stops being a chore; you simply repeat the same motion every time.
Method 1: Impulse Heat Sealer (Most Reliable)
An impulse heat sealer passes a short electrical pulse through a nichrome wire, welding the two film layers together in 2–4 seconds. This is the standard answer to how to seal mylar bags for preppers, food banks, and commercial packers because the result is a uniform 5–8 mm weld stronger than the film itself.
Steps for a perfect seal:
- Fill the bag no more than two-thirds full so the mouth lies flat.
- Wipe crumbs and static-clinging dust off the inner surfaces of the seal zone; even a grain of rice creates a channel.
- Press the mouth between two boards to expel excess air and align the edges evenly.
- Clamp the sealer for 2–4 seconds on setting 3–4 for a standard 5-mil bag, or double-seal for 7-mil bags.
- Let the weld cool under pressure for 2 seconds before releasing.
- Tug the corners gently. A good weld stretches the film before it peels.
If you are sealing 5-gallon liner bags inside buckets, choose a 400 mm sealer so one pass covers the full width. That consistency is the whole secret of how to seal mylar bags at production speed. Our guide to standard mylar bag thicknesses explains which sealer settings match each film gauge.
Method 2: Flat Iron or Hair Straightener
The most popular household answer to how to seal mylar bags is already in the bathroom. A flat iron reaches 180–230 °C, well above the melting point of the PE sealant layer inside mylar laminate.
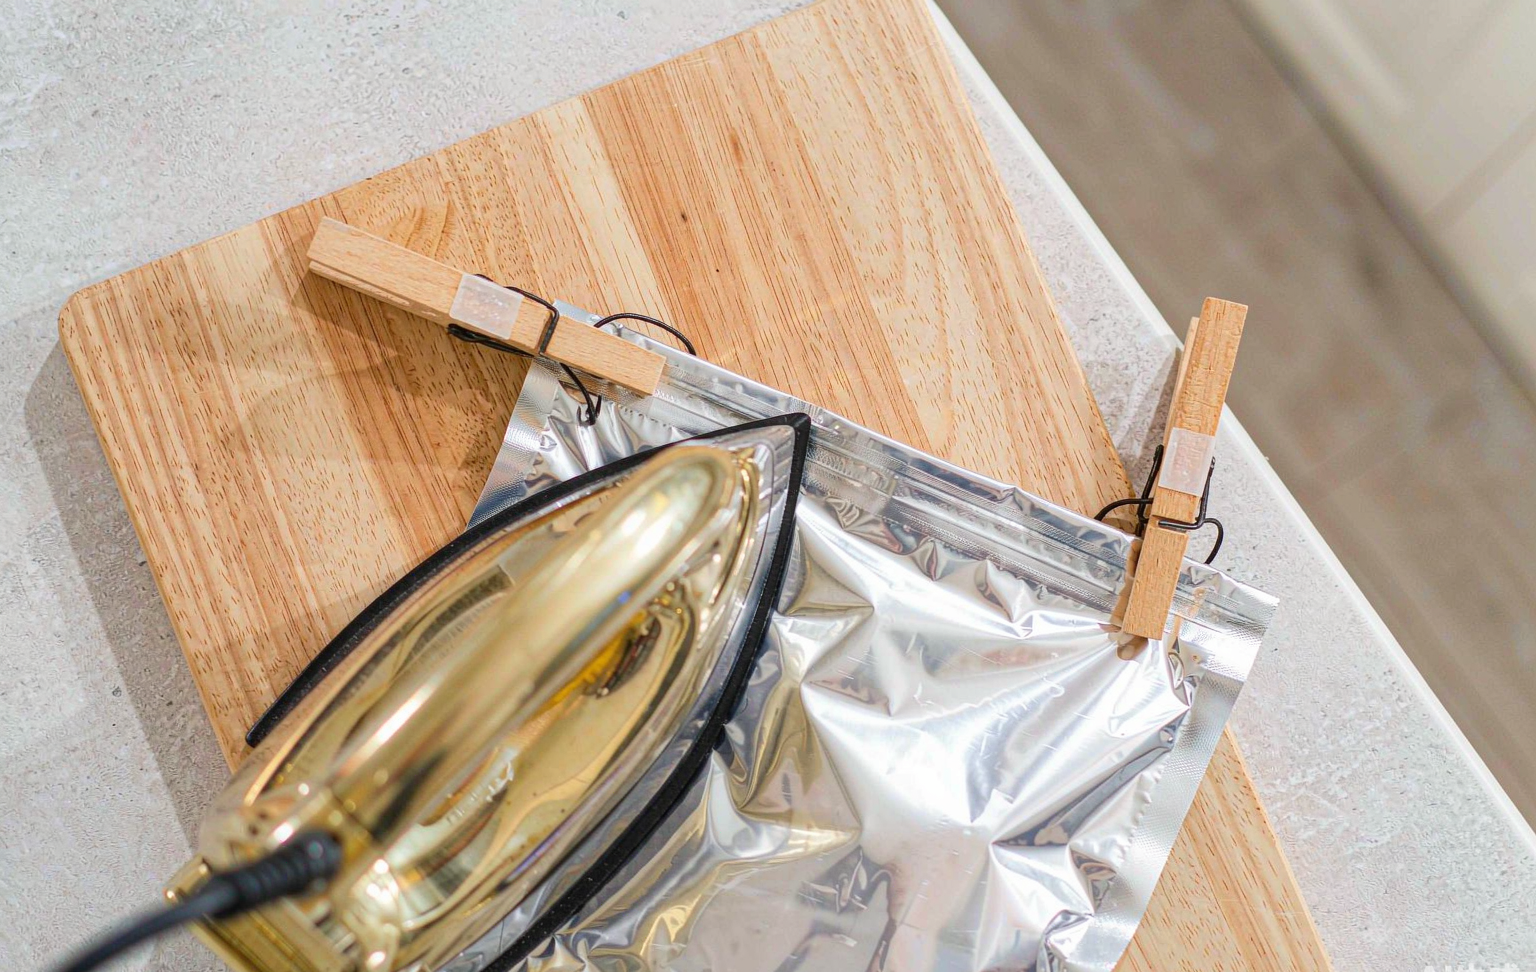
- Set the iron to its maximum temperature and let it fully heat.
- Leave a 15–20 mm flat mouth above the contents and smooth it between two fingers.
- Run the iron slowly along the edge with steady pressure, about 5 mm from the open end.
- Overlap the first pass by half the plate width and make a second pass for a double weld.
- Test the seam by pressing the bag flat against a table: no air should escape.
The double pass matters. Single passes from a flat iron can leave microscopic channels at the plate edges, and that is the difference between a 5-year bag and a 25-year bag.
Method 3: Clothes Iron for Wide Bags
For 5-gallon and 6-gallon liner bags, a household clothes iron on the linen setting (around 200 °C) covers the full width in one stroke. Lay a wooden board inside the bucket rim as a backing surface, fold the bag mouth flat, and slide the iron across in one slow pass, then repeat with a half-width overlap. Keep the steam function off; water vapor is the enemy of both the seal and the food. For bucket liners, this is how to seal mylar bags without buying any tool at all. This is the classic method used with sugar, grain, and flour buckets, and it costs nothing if you already own an iron.
Method 4: Vacuum Sealer with Mylar
Standard chamber-free vacuum sealers are designed for textured PE bags, not mylar, because mylar is too smooth for the machine to pull air from the channel. It can work on narrow mylar pouches if you fold a small notch of textured bag material into the seal zone as an air channel, then run two cycles. Honestly, this is a workaround, not a recommendation. If you already own a vacuum sealer and small mylar pouches, it produces a decent weld, but for anything above 1 quart, the impulse sealer or flat iron methods above are faster and stronger. Our article on using FoodSaver vacuum seal bags covers the hybrid technique in detail.
Method 5: Zip Closures for Short-Term Use Only
Many retail mylar bags come with a press-to-close zipper above the seal line. The zipper is for customer convenience during the first weeks of use, not for storage. Oxygen transmission through a closed zipper is hundreds of times higher than through a heat weld, which is why commercial packers always heat-seal above the zipper and tell customers to re-seal with a clip after opening. If a bag will be emptied within 3 months, a clip is fine. For anything longer, use one of the heat methods above. Understanding this distinction is central to how to seal mylar bags the way commercial packers do.
Sealing Mistakes That Ruin Shelf Life
Most failures in how to seal mylar bags trace back to five preventable habits:
- Sealing over crumbs. Particles in the weld zone create micro-channels. Wipe the seal area every time.
- Overfilling. A mouth stretched tight over contents wrinkles during sealing. Leave at least 50 mm of headspace on quart bags.
- Single thin pass. One quick pass rarely produces a continuous weld. Double-seal everything you plan to keep for years.
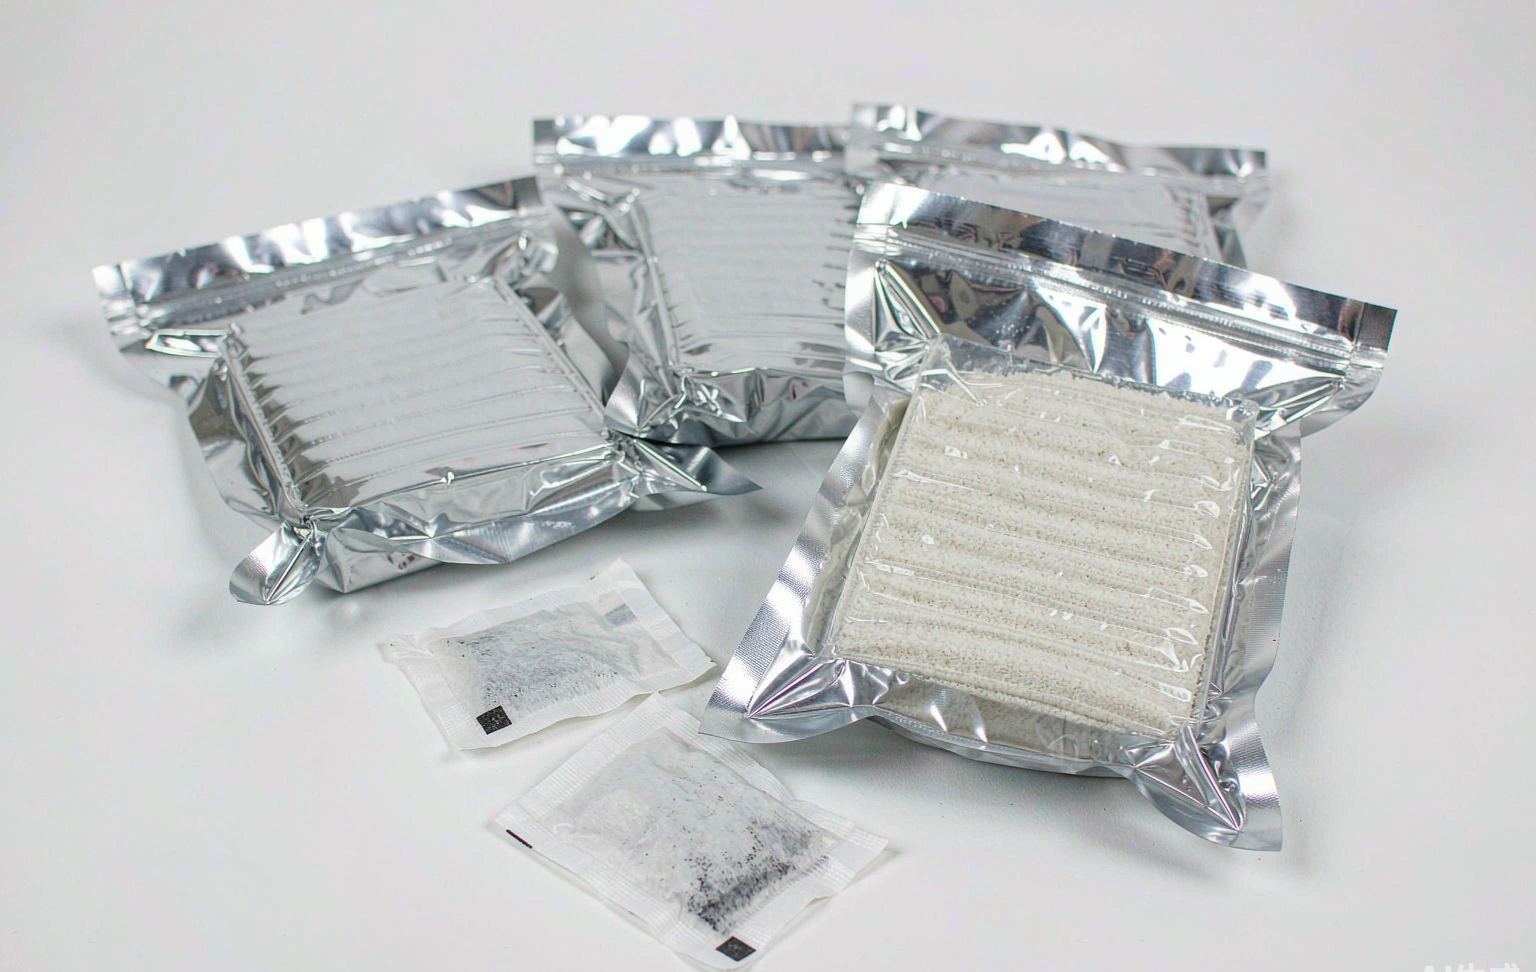
- Skipping the oxygen absorber. A perfect weld with no absorber still leaves 20.9% oxygen inside. Pair the seal with the right absorber size, as explained in our freeze-dried food storage guide.
- No label. Write the contents and packing date on the bag before sealing; mylar defeats visibility on purpose.
FAQ: How to Seal Mylar Bags
Can I seal mylar bags with a regular hair straightener?
Yes. For how to seal mylar bags at home, a flat iron at maximum heat makes one of the strongest DIY welds available. Make two overlapping passes and check for air leaks by pressing the bag flat.
How wide should the seal on a mylar bag be?
Aim for a 5–8 mm continuous weld. Wider is not automatically better; what matters is that the weld contains no channels or wrinkles. The same rule applies no matter how to seal mylar bags, whether by machine or by iron.
Do I still need oxygen absorbers if the bag is perfectly sealed?
Yes. Sealing stops new oxygen from entering; absorbers remove the oxygen already trapped inside at packing time. The two work as a pair.
Why is my sealed bag losing vacuum and going soft?
A soft bag usually means a channel leak in the weld or a puncture from sharp food edges such as pasta corners. Re-seal above the old weld line with a fresh flat zone.
How many times can I heat-seal the same mylar bag?
Most quart and gallon bags tolerate 3–5 reseals if you cut above the old weld each time and keep at least 30 mm of usable mouth. Below that, weld quality drops.
The Bottom Line on How to Seal Mylar Bags
How to seal mylar bags comes down to matching the method to the batch size: an impulse sealer for anything you store long-term, a flat iron or clothes iron for household batches, and zip closures only for short turnaround. Whatever the tool, the rules are identical: clean seal zone, flat mouth, firm pressure, and a double pass. Get those four right, add the correct oxygen absorber, and the food inside your mylar bags will outlast the shelf you store it on. If you source bags for a brand, our mylar bag design guide covers how seal width, tear notches, and zipper placement are engineered at the factory level.